TL;DR
Florida's hurricane season runs June 1 through November 30. Start prepping your RV by May. Key steps: seal the roof, retract and secure the awning, disconnect shore power, lower leveling jacks, position the RV nose-into the wind, disconnect propane, and review your insurance policy. After the storm, inspect the roof first, then check for water intrusion. Storm damage to unprotected RVs averages $8,000 to $15,000. Most of that is preventable with 2 to 3 hours of preparation.
Living on the Treasure Coast means dealing with hurricanes. It's not a matter of if, it's when. Jensen Beach, Stuart, and the surrounding areas have been in the direct path of several major storms in recent years, and every season brings new risk.
I've repaired hundreds of RVs after hurricanes and tropical storms over the past 10 years. The difference between an RV that comes through a storm with minor issues and one that needs $10,000+ in repairs almost always comes down to preparation. Two to three hours of work before the storm can save you months of headaches afterward.
Here's the checklist I give to every RV owner in our service area. It's based on what I've actually seen work (and what I've seen fail) after real storms.
Start Before the Season: May Prep Checklist
Don't wait until a storm is in the forecast. By that point, hardware stores are sold out of tie-downs, storage facilities are full, and repair shops are booked weeks out. Get your RV storm-ready before June 1.
Inspect and seal your roof. Your roof is the single most vulnerable part of your RV in a hurricane. Wind-driven rain finds every gap in your sealant, and flying debris can puncture the membrane. Before hurricane season:
- Check all sealant around AC units, vents, skylights, and antennas
- Reseal anything that shows cracks, gaps, or lifting
- Patch any tears or thin spots in the membrane
- Clean the roof surface and apply UV protectant
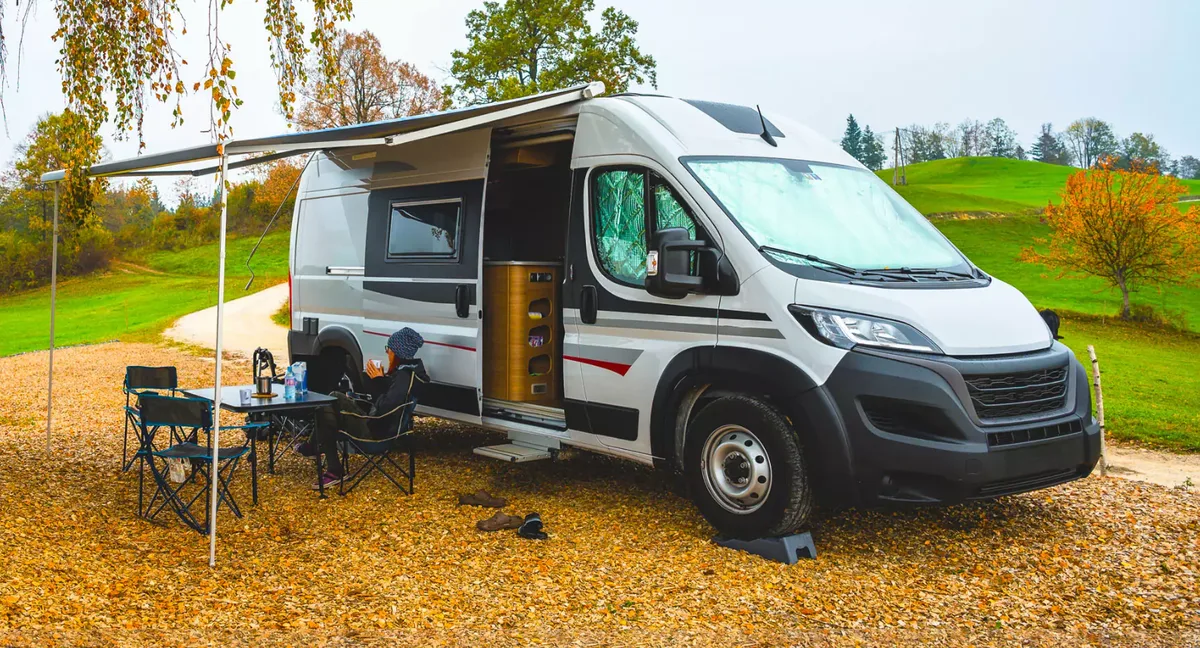
Service your awning. A stuck or damaged awning that can't be retracted is a serious liability in high winds. According to the National Weather Service in Melbourne, wind speeds during a Category 1 hurricane (74 to 95 mph) are more than enough to rip an extended awning off its mounts and damage the RV sidewall. Test your awning's retraction mechanism. If it's slow, stiff, or the motor is struggling, get it repaired now.
Check your leveling system. You'll need those jacks to stabilize your RV before the storm. Make sure they extend and retract fully, and that the hydraulic system isn't leaking.
Review your insurance. Pull out your RV insurance policy and read the fine print. Does it cover wind damage? What about flooding? Many policies have separate (and higher) deductibles for named storms. According to the Insurance Information Institute, the average RV insurance claim after a hurricane is between $8,000 and $15,000. Make sure your coverage matches your RV's value.
When a Storm Is Approaching: 48-Hour Checklist
A hurricane watch means conditions are possible within 48 hours. This is your window to act. Don't wait for a warning (which means conditions are expected within 36 hours). Here's what to do, in order of priority.
1. Decide whether to move the RV. If you can move it to an enclosed storage building or an inland location away from flood zones, that's the best option. If you're near the coast in Jensen Beach or Stuart, moving even 10 to 15 miles inland to an area like Indiantown can make a significant difference in wind exposure and storm surge risk.
2. Position the RV correctly. If you can't move it, position the front of the RV facing into the expected wind direction. The narrow front profile catches less wind than the broad side. This alone can reduce the wind force on your RV by 30% to 40%.
3. Lower all leveling jacks and stabilizers. Get those jacks down and firmly on the ground. They won't prevent a direct hit from flipping your RV, but they significantly reduce rocking and shifting in sustained winds under 80 mph. Use jack pads on soft ground to prevent sinking.
4. Retract the awning completely. Then strap it down with additional tie-downs or bungee cords. An extended awning in a hurricane is basically a sail. It'll rip off and take part of your sidewall with it.
5. Secure or remove external accessories. Satellite dishes, portable solar panels, bike racks, grills, outdoor furniture, folding chairs, and anything else that isn't permanently mounted needs to come inside or be removed. Flying objects cause most of the impact damage to RVs during storms.
6. Close and lock all windows, vents, and roof hatches. Even vents with rain covers should be fully closed. Wind-driven rain comes in sideways and finds openings you didn't know existed.
7. Disconnect from shore power. Unplug your power cord and store it inside. Power surges during storms can fry your electrical system, and standing water around a live connection is a serious electrocution hazard.
8. Turn off and disconnect propane. Close the valve at each tank and disconnect the regulator if possible. Flying debris hitting a pressurized propane tank or line creates an obvious danger.
9. Wheel chocks and tie-downs. Chock all wheels. If your RV isn't on a permanent pad with built-in tie-down anchors, use heavy-duty ground anchors rated for your RV's weight. Screw-in ground anchors (the kind used for mobile homes) work well if you have soft ground.
Protecting Your Roof During a Storm
Your roof is the part of your RV that takes the most punishment during a hurricane. Wind, rain, and debris all hit the roof first. Here's how to give it the best chance of surviving.
If your roof sealant is in good shape (you resealed in May, right?), you're already ahead of 80% of RV owners. Beyond that:
- Cover the AC shroud. The plastic shroud on your rooftop AC unit is vulnerable to impact damage. A fitted cover or even a heavy tarp secured with straps can protect it from small debris. Don't use a tarp that's loose enough to catch wind, though.
- Close all roof vents and skylights. Crank-style vents should be fully closed and latched. If any vent has a broken crank or won't seal completely, tape it from the inside with waterproof tape as a temporary measure.
- Remove roof-mounted solar panels if possible. Portable or semi-portable panels should come inside. Permanently mounted panels can't be removed, but check that their mounting brackets are tight.
After more than 10 years of post-storm repairs, I can tell you that 90% of storm-related roof damage I see is water intrusion through failed sealant, not structural roof failure. The wind doesn't rip the roof off (usually). It drives rain through gaps that were already there. Have you checked your roof sealant this season?
Electrical Safety Before and After
Electrical problems after hurricanes are more common than most people realize. Here's what to watch for.
Before the storm:
- Disconnect from shore power (worth repeating because it's that important)
- Turn off the main breaker inside your RV
- Disconnect your battery bank if the RV will be unattended during the storm
- If you have a generator, run it dry or turn off the fuel valve. Don't leave fuel sitting in the carburetor
After the storm:
- Inspect the shore power inlet on your RV for water damage or debris before plugging in
- Check the campground pedestal for damage before connecting
- Look for standing water near any electrical components
- Turn breakers on one at a time to check for shorts
- Test all GFCI outlets
About 15% of our post-hurricane repair calls involve electrical damage that could have been prevented by simply disconnecting from shore power before the storm. Power surges, water intrusion into electrical panels, and corroded connections are the most common issues.
After the Storm: Inspection Priorities
Once the storm passes and it's safe to go outside, inspect your RV in this order:
1. Roof. Get up there (when it's safe and dry enough) and check every inch. Look for punctures from debris, torn membrane, compromised sealant, and dents from impact. Check inside the RV for any signs of water intrusion: stains on the ceiling, drips, wet carpet, or a musty smell.
2. Awning. Check the fabric, arms, mounting hardware, and motor. Even retracted awnings can take damage from flying debris hitting the rolled-up fabric or the support arms.
3. Windows and seals. Check every window for cracks, broken seals, and water intrusion around the frames. Slide-out seals are especially vulnerable to wind-driven rain.
4. Exterior compartments. Open every compartment door and check for water inside. Inspect the door seals and latches.
5. Undercarriage. Look for flood damage, debris lodged in the frame, and any damage to holding tanks, water lines, or electrical runs under the RV.
6. Leveling and slides. Test your leveling system and slide-outs before traveling. Debris, water, or shifting during the storm can affect their operation.
Document everything with photos before making any repairs. Your insurance adjuster will need documentation, and photos taken immediately after the storm carry more weight than ones taken days later.
Insurance Tips Specific to Florida RV Owners
Insurance is one of those things nobody wants to think about until they need it. Here are some specific tips based on what I've seen customers deal with after storms:
- Review your policy before June 1. Know your deductible, your coverage limits, and what's excluded. Named storm deductibles are often 2% to 5% of the insured value (so $1,000 to $2,500 on a $50,000 RV).
- Take "before" photos. Document your RV's condition before hurricane season starts. Photos of the roof, exterior, interior, and all systems in working order can help if you need to file a claim.
- Keep repair receipts. If you've had recent repairs or upgrades, keep the receipts. They establish the condition and value of your RV.
- File claims promptly. Most policies have time limits for filing. Don't wait weeks after a storm to start the process.
- Consider flood coverage separately. Standard RV insurance usually covers wind but not flood. If your RV is parked in a low-lying area near the St. Lucie River or Indian River Lagoon, flood coverage is worth considering.
If your RV sustained storm damage and you need repairs, we can help with the process. We provide detailed repair estimates that insurance companies accept, and we'll work directly with your adjuster if needed. Call us at 772-356-0328 or schedule an inspection online.